Vegetable gardeners plant a lot of seeds. It can be challenging to keep track of them all, especially if you’re planting weekly successions of crops. That’s where plant markers come in. Labeling is an easily overlooked aspect of food gardening that’s an important part of keeping things organized.
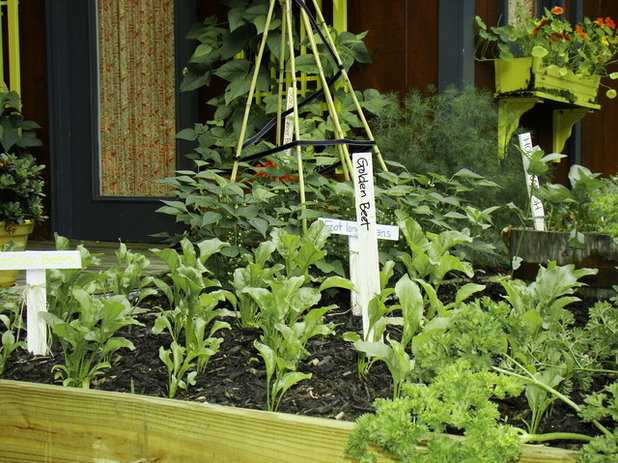
Robin Amorello, CKD CAPS - Atmoscaper Design
Plant Labeling BasicsMany gardeners are familiar with decorative plant markers. They can enhance the aesthetic of a garden and be a useful way to keep track of crop rotations. However, they aren’t a substitute for customized plant markers and aren’t necessary in all gardens.
To maximize the benefits of labeling, it’s best to create individual markers for each planting of seeds or seedlings. Each time you plant a square, container or row of an edible, it should get its own handwritten label.
Include these three pieces of information:
- Crop (for example, lettuce, tomatoes, beans)
- Variety
- Planting date
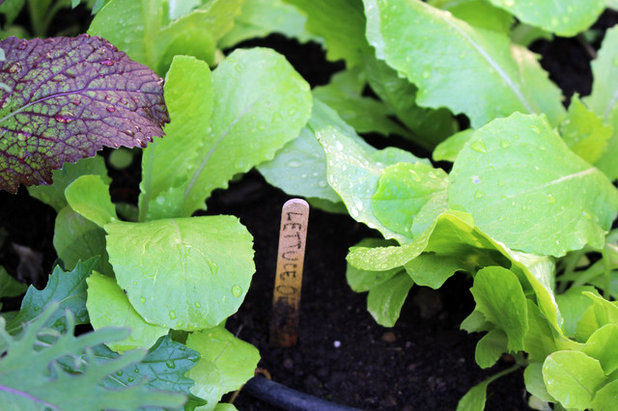
For example: “Lettuce, Olga, June 12”
Plant markers help you remember where you planted seeds before they come up. They can also help you to take appropriate measures, such as planting more seeds, if germination problems occur after a couple of weeks have passed. Markers can make it easier to remember which varieties to plant more of: If a certain type of edible is doing especially well, you can easily keep track.
Abundant City
MaterialsGardeners can go through a lot of plant markers in a growing season, so it’s best to use inexpensive materials that are easy to buy in quantity.
Wood. Inexpensive, biodegradable and easy to find at craft stores, Popsicle sticks can make for handy markers. Choose large, wide sticks or tongue depressors to make writing easier.
Noelle Johnson Landscape Consulting
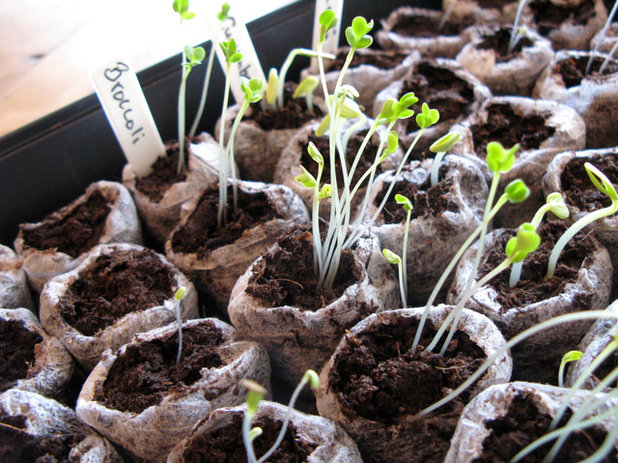
Plastic. Widely available at dollar stores, plastic markers can be easier to read than popsicle sticks. They can also be reused, as the writing can be wiped off.
Homemade. Use strong scissors to cut old yogurt containers into strips for a cost-free, recycled alternative to plastic markers. These white food-grade plastic markers work well, though they’re a bit less sturdy than purpose-built plastic markers.
Seed packets. There was once a time when gardeners would sprinkle a whole packet of seeds in a row, then poke a stick through the seed packet to use as a label. Thankfully, this tradition has mostly faded away, just like the seed packets do when left out in the sun and rain. It’s almost never a good idea to plant an entire packet of seeds in one go. Rather, sow a few seeds each week, recycle the packet when it’s empty and use a proper label.
Scenic Landscape and Design
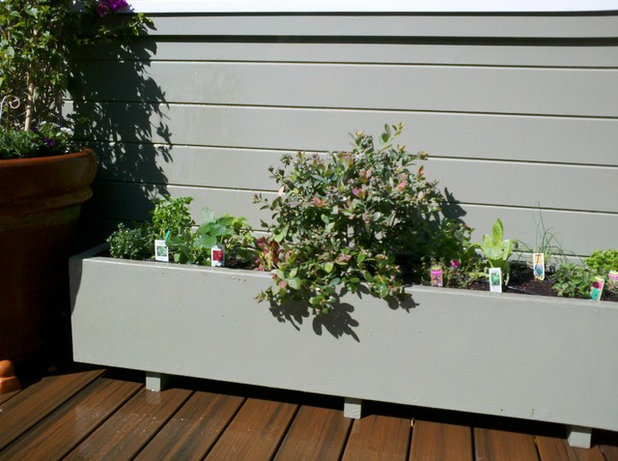
Nursery markers. When buying seedlings rather than planting from seed, use the label that comes with the plant. In addition to noting the crop and variety, these markers include basic care instructions, such as whether the plant prefers sun or shade.
Lucy Call
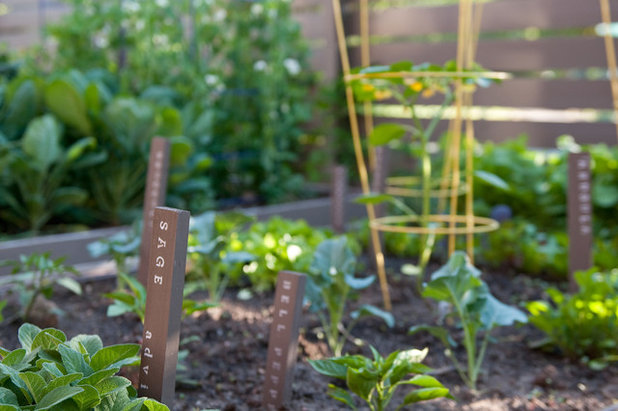
Copper, slate and painted. Copper markers, widely available at garden supply stores, are quite attractive. They’re also expensive, hard to read and can’t be rewritten, which means that they are best used as “permanent” markers to section off the main parts of your garden. Similarly, slate, painted and other decorative markers can be used to describe the main crop families you plant from year to year. Categories of crops you might want to use permanent markers for include:
- Salad greens
- Root crops
- Legumes
- Tomatoes
- Potatoes
- Squash
- Herbs
Use one permanent plant marker per bed or container. Move the markers from year to year to help keep track of your crop rotation.
Abundant City
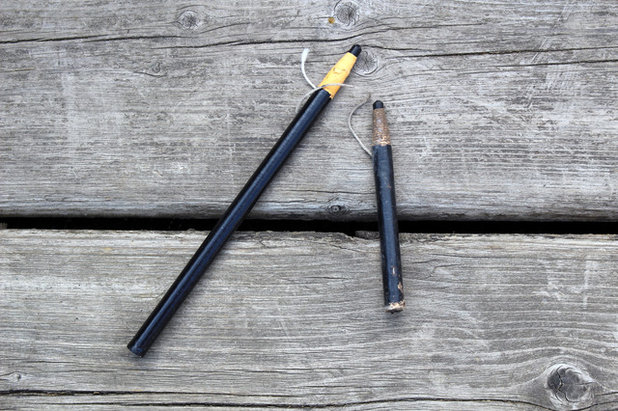
The right writing implement. One of the most surprising challenges of labeling your plants is finding a pen that actually works. Out in the sun and rain, ballpoint ink stands little chance, and permanent markers suddenly aren’t so permanent. When writing on wooden or plastic markers, try using oil-based tools such as grease pens or even crayons. They hold up surprisingly well.


