“I've never been an idle person," says Amy Moore. Aside from caring for a family of eight, harvesting and selling homemade honey, and raising chickens and horses on her family’s 8-acre property, she has recently built her own greenhouse using primarily recycled materials.
After picking up 26 vintage oak casement windows for free from a glass cutter looking to unload them, Moore decided that building a greenhouse would be the perfect way to extend the short Tennessee growing season and to get her children involved in a meaningful home improvement project. Using a circular saw, a jigsaw and a battery-powered drill, she spent about a month and less than $400 to erect an 8-foot by 8-foot greenhouse on her family’s ridge. Now she is just itching to get the first season's crops growing.
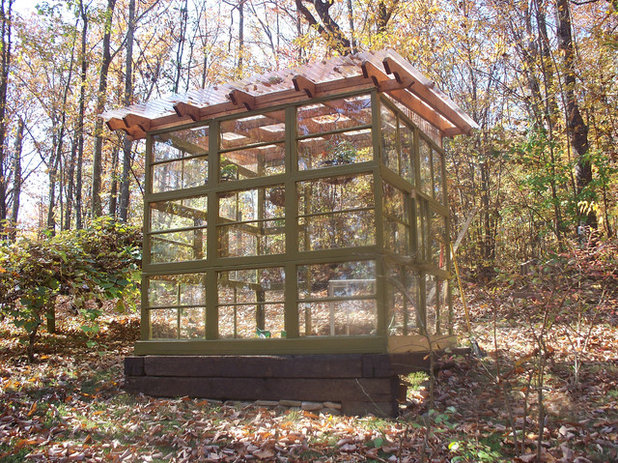
Resources abound for salvage projects like this — people throw building materials away all the time, and many stores specialize in vintage and reclaimed materials.
When Moore was a child, she visited her grandfather’s lake house in Texas every summer. When “Granny needed a bigger closet for canning,” she says, they drove around the community hunting for building materials and “trash” that other people had tossed out — and the resourcefulness of her grandfather stuck with Moore.
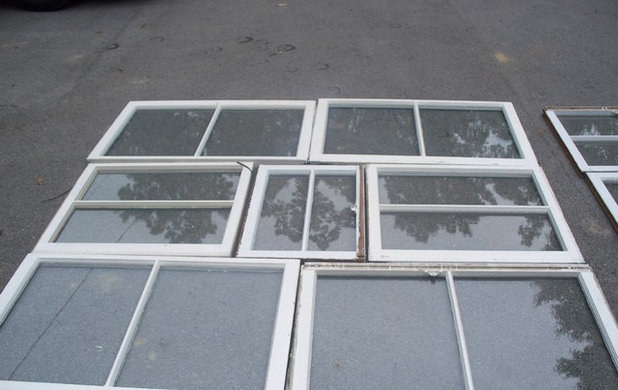
She stuffed all 26 windows into her Chevy Impala and schlepped them home — before taking stock of what she had. Turning them into greenhouse walls was “like putting together a puzzle,” she says.
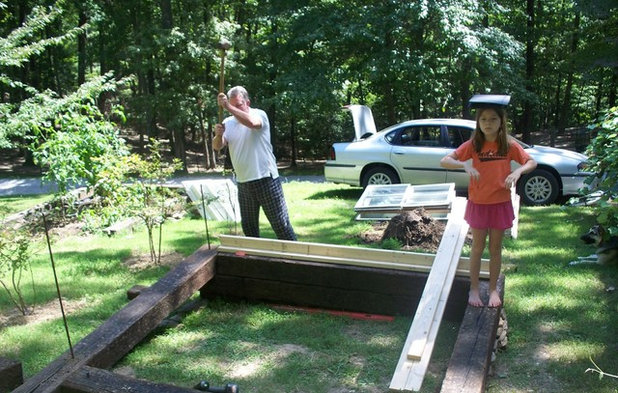 Constructing the greenhouse.
 Moore’s husband helped install 4-foot pieces of rebar into a railroad timber foundation. Moore attached 2-by-4 framing for the walls.
She involved the three youngest of her six children (Anna, 10; Sarah, 12; and Zach, 15) extensively in this project. Before they move out of the house or get sucked into the busy years of high school and college, she wants to involve them in as many home projects that would allow them to get their hands dirty as possible. They helped cut roof panels, applied the olive green paint and even helped with the framing.
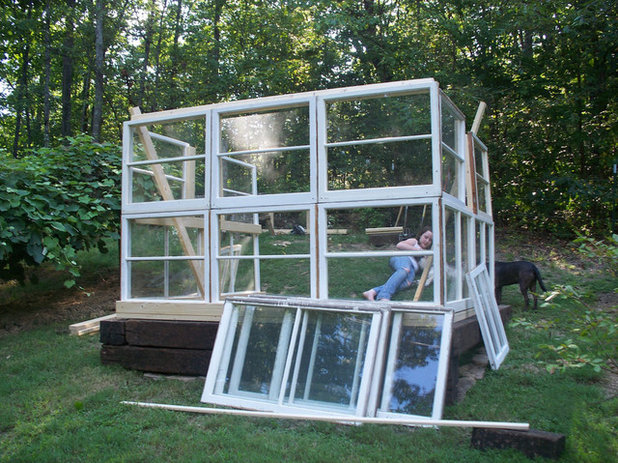
Two weeks later, the walls were up.
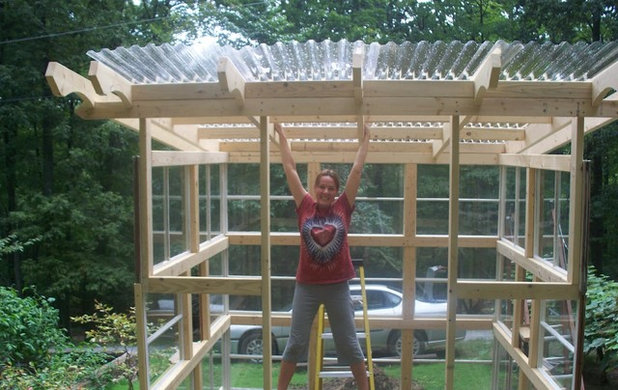
The windows and design of the greenhouse strongly influenced its framing. Moore says she framed the greenhouse rather unconventionally to accommodate the maximum 27- by 42-inch window span. "Solid 2-by-4 horizontal beams between each row of windows give strength and stability to the walls," says Moore. "The weight load is carried by the horizontal beams and vertical 2-by-4 jack studs, while accommodating the existing oak frames of the windows."
Building from the ground up, Moore squared and plumbed the structure as she went. She used decking screws to build it, saying, "They don't back out with the swell and contraction that wood goes through seasonally."
Moore's property is advantageously situated on the southeast side of a tall ridge, which offers shelter from most direct winds. "I do consider the 70-foot-tall trees a potential disaster. God willing, it'll be here for a long time," she says.
While Moore has a home renovation and other garden building projects under her belt, she’s the first to admit that this project wasn’t without its challenges. “I’m not a professional builder,” she says, and between maneuvering a 6-foot-tall ladder on an 8-foot-tall wall and cutting rafters to fit flush on the roof, Moore had her share of obstacles. “I would take a glass of wine and walk down to the hill and sit and stare at the greenhouse and ponder,” she says. Taking a step back, she would think, “I can get this. If I can pack six kids in the van for a family trip, find room for luggage and still have access to the cooler, I can make a rafter fit flush on the roof.”
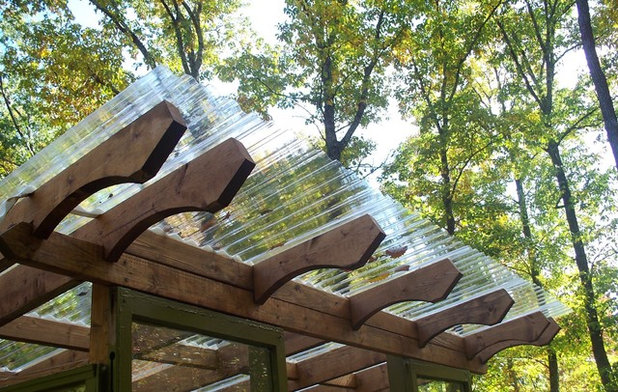
Two weeks after the walls were up, a corrugated polycarbonate panel roof was on. While its longevity is yet to be determined, as of now it keeps the rain out. A pitched roof was originally envisioned, but this shed roof design involved a lot less cutting and less square footage — a plus when the panels cost $30 apiece.
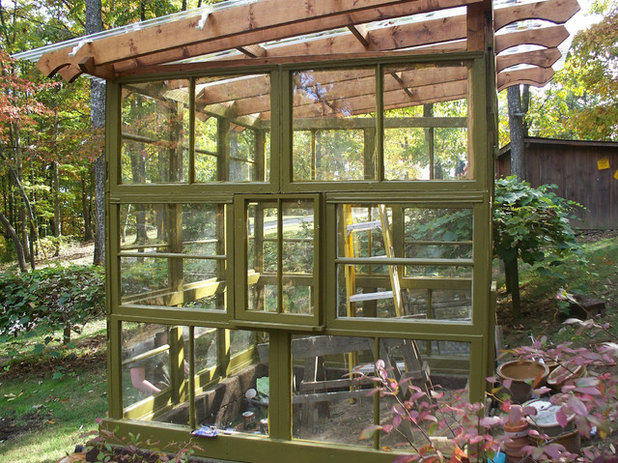 Bringing on the heat.
 Winter on the ridge drops to temperatures in the teens, and Moore hopes to use passive heating to warm the greenhouse. She’ll observe temperatures in it over the winter to see if supplemental heating is required — solar panels, perhaps. She's looking forward to growing a lot more in the coming seasons, and maintaining a balmy temperature of 65 degrees Fahrenheit over the winters would make a world of difference.
She caulked the windows and then let her kids have a go with the olive green paint. Moore says she has only a few more trips to the glass with the razor blade left to go.
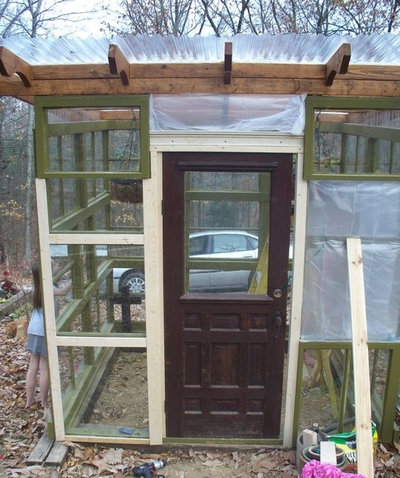
To control air and heat flow, a transom above the greenhouse door will be added. Silicone caulking will also make the joints tighter. This greenhouse is going to be forever, says Moore.
 Considering the plantings.
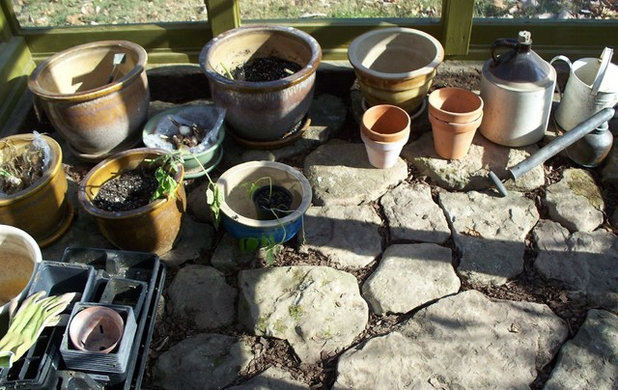
 Moore says pomegranates are a must for growing. Her grandfather grew pomegranates and Shasta daisies in Texas, and this homage to his influence really brings the process full cycle. Avocados are on the wish list as well.
She’s considering salvaged stainless steel restaurant shelving for stacking and displaying the plants. For now, two hanging planters and heirloom tomato cuttings are testing out conditions over the winter while temperatures are monitored and sun patterns observed.

Moore is looking forward to the time she'll spend in her new greenhouse. "It's perfect," she says. "It's quiet but not removed. You can just sit down there and watch the trees, the horses and enjoy the house."
Let her process inspire your own project. Here are the materials she used:
- Foundation: Salvaged railroad timbers and 4-foot rebar pieces
- Framing: Various lengths of 2-by-4s; various-size lumber for trim, door frame and base
- Walls: 26 oak-framed windows of various sizes; exterior latex caulk, primer and paint
- Rafters: Seven 10-foot lengths of 2-by-6s, stained and sealed
- Roofing: Polycarbonate panels with fasteners and foam inserts
- Window ledges: Scrap 1-by-8 oak shelves
- Deck screws (2 inch, 2 1/2 inches and 3 inches)
- Door hinges (smaller for side windows, larger for door)
- Antique wood door
- Decorative door header: Scrap plate rail


