


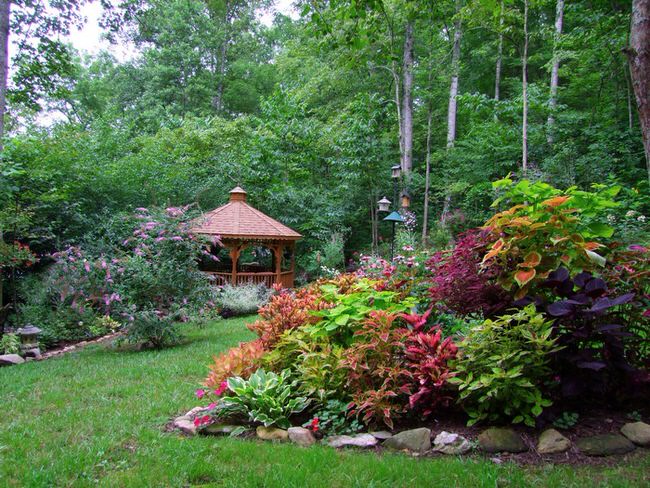
Island beds are a great solution for a garden that lacks a focal point, and an easy way to add color and texture to a large expanse of boring lawn. Because they are accessible from all sides, they are easier to plant and maintain. They provide an attractive feature from all different points of the yard, and can add depth and balance. They do, however, have to be designed in way that makes the most of their positive attributes without forgetting the nature of the island bed. Being able to view an island bed from all sides means you must keep in mind some basic points when creating your garden. Here is how to design an island bed!
Consider placement.
An island bed is like placing a new sofa in the room… you don’t want to block traffic, you want it in a place you can enjoy it, (from all sides, remember!) and you want it to “balance’ the space. In other words, think before you dig. Do the kids play football every afternoon in June? Keep that in mind. If you have a large yard, don’t place it far away from where you spend the majority of your garden time. And seriously people…balance? If you have three large trees on one side of the yard, and nothing on the other…DO NOT put your island bed on the side of the yard with all the trees! Can’t visualize? Use a garden hose or twine (white is best and easier to see in lawn) to lay out the proposed placement ahead of time. Then step back and consider everything in this post before you even get the shovel out of the garage!
Consider shape, size and formality.
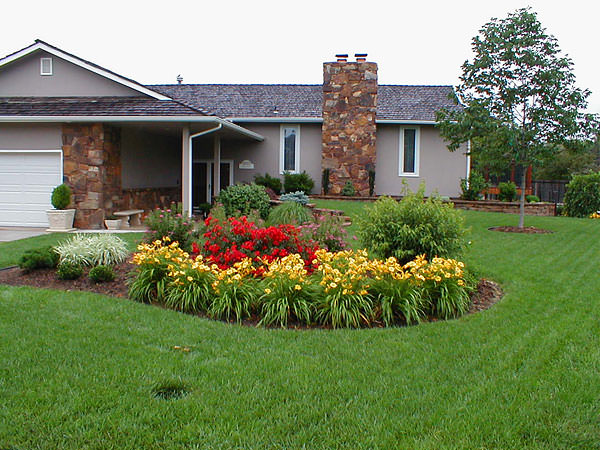
First things first…is your yard informal, or formal? Unless your yard is a formal one, squares and rectangles are not going to be the most natural feeling shape. Again, use the twine trick to create free flowing shapes for your island. I like a modified kidney shape for gardens.
One of the biggest mistakes I see people make with creating an island bed is making it too small. You have to take into account the total size of the yard, the distance from house to island bed, and how tall the plants in your island bed will be. When in doubt, go bigger. There are “rules” but you all know I hate those… :) Lay out your bed, step back to look, then make it a little bigger than your comfort zone and see if I’m not right.
Creating the bed itself.
Creating an island bed is pretty much like digging out any garden bed… use a shovel or a spade, and dig up that sod!You can actually use spray paint to mark the edges of the bed on the lawn… no worries, it will be gone soon anyway? And, if you miss some, the lawn mower will get it next time around. Add compost, and till in.

Planting.
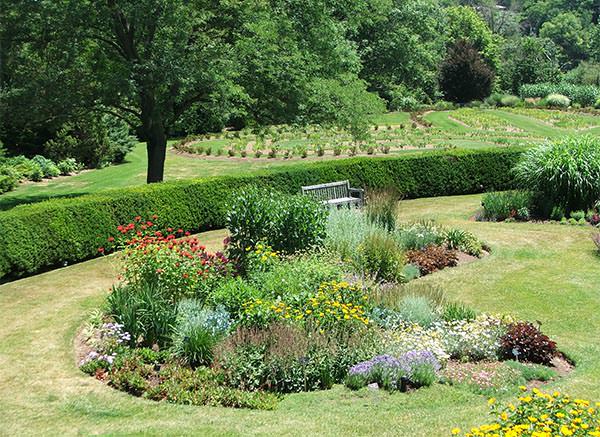
Remember, your island bed can be viewed from all sides, so plant the tallest plants or small trees near the center, and gradually work the heights down as you go toward the edges. Again, same design principles as any other bed. Form, contrast, texture, color… and try to make sure you have something blooming, or of interest, in every season on three sides of the island. It might help to divide the island into thirds. If something is always (or almost always, this is nature, after all!) in bloom in each of the thirds, your bed will feel full and balanced.
Last thoughts.
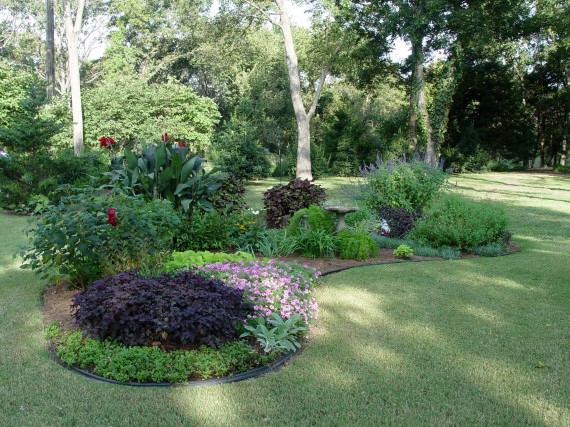
Edge this baby, ok? You’ll be thankful when you can actually mow around it, and it just may slow down your lawn’s insistence on taking the bed back from whence it came. Got all that? Good. Now be inspired!
Copyright © www.100flowers.win Botanic Garden All Rights Reserved