


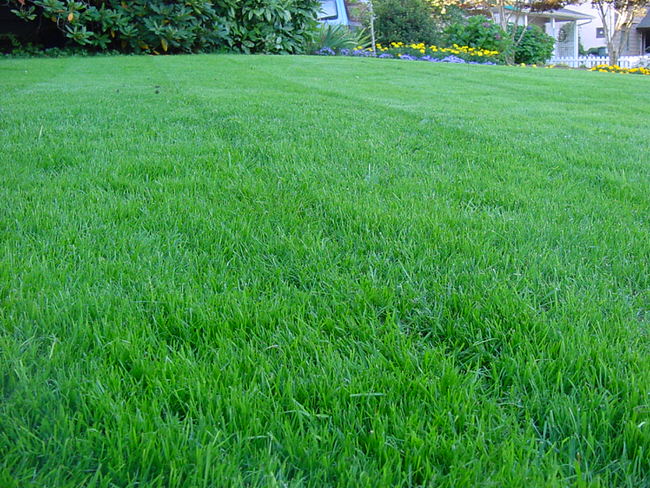
If you need to lay a new lawn, or repair or replace an old one, there is no faster way to get it established then laying sod. It’s not a difficult job if you follow some easy hints. Steve and I have both laid sod before, and we have a step by step guide for you and one big “got to know”. You will be sore. Accept it now…but it will be from a job well done, and nothing…I mean nothing transforms a yard faster then the velvet green of a sod lawn.
Why lay sod instead of seed? First of all, a seeded lawn can take months before it can be used for any kind of regular traffic, be that from pets, kids, or guests. Second, it requires the same prep time, yet weeks and weeks more extra maintenance chores while you baby that seed into germination and to become a full and lush lawn. Third, seed lawns tend to need patching later on, and use a lot more water to establish. (I guess thats fourth, too!) Need anymore? It’s pretty darn satisfying spending a good afternoon laying down sod, to step back and look at your instant happy garden. Also, sod can be laid pretty much anytime during the growing season, though spring and fall are best. (Summer installation requires more attention to watering!) Seed is best planted in spring, fall planting can be tough.The only con to laying sod (besides the “sore” part is that it initially costs more than seed. But if you factor in the extra water required to get a seed lawn started, the extra expense patching the lawn later on, and the time spent waiting to use your yard, sod is a pretty good investment.
Sod can be ordered straight from sod companies, or from your local nursery. It is delivered in 3-4 foot rolls on wood pallets, and is sold by the foot. You will need to figure our how many square feet you want to lay before you call to order.
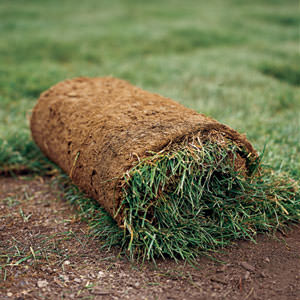
Ok, so on to our step by step tutorial on how to lay sod!
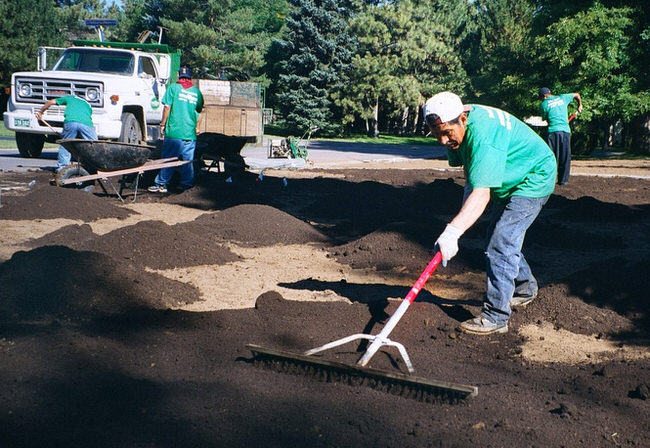
1. Prep is everything. Just like any gardening, prepping the soil will make the difference between a lawn that is healthy and lush, and one that is thin, dries out easily and eventually fails. The weekend before you have the sod delivered, rent or borrow a rototiller and till the soil six inches deep. Add an inch or two layer of compost to the top of the soil and till it in. Then the fun part. Using a metal rake, smooth out the area to be sodded, and break up any large chunks. Water.
2. Have the sod delivered the morning of installation if possible. If not, no more than the day before. Water the sod on the pallets lightly to keep it from drying out. Hint: Don’t soak the sod, it will make it much heavier to pick up and carry.
3. Lay your first row of sod, usually along the longest side of the yard. Lay the sod strips with the ends butting up together, but not overlapping. This is key to not having weeds growing up between your sod strips while the lawn is establishing.
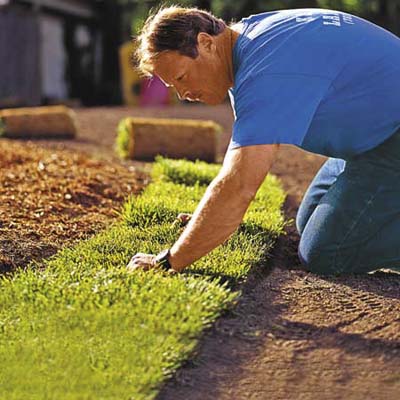
4. Lay the next row. This row, you want to stagger the seams, as This Old House says, “like you are laying brick.” Lay the rest of your rows in this staggering manner.
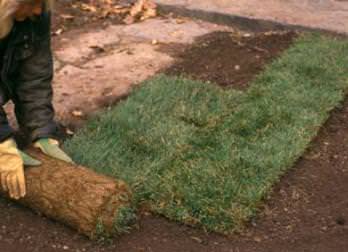
5. Use a sharp garden knife to cut strips to fit. My “garden” knife was an old serrated knife from the kitchen drawer. It lasted just long enough to get the whole lawn done. Be warned.
6. When the sod is all laid, walk along the seams to gently help them make contact with the soil. Some rent a roller, but we have never had an issue from just walking the seams. Water well with sprinklers.
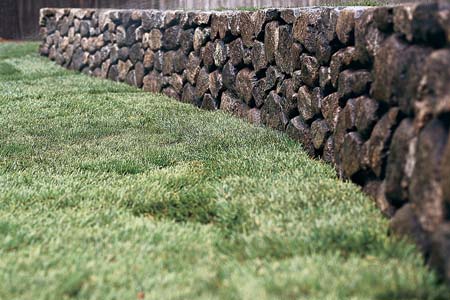
7. Water the new lawn every day for a week, then every other day for the next week. By week three, you should be seeing significant growth and you should be able to water like a normal (new) lawn for your climate. When the lawn is 3 inches high, it’s time for the first mowing. It’s also ready for light foot traffic. Sod lawns are pretty tough, you can walk across them to set up a sprinkler, for instance, from day one. Just hold off on the football and slip and slide for a bit, ok?
That’s it, you have learned how to lay sod, and transformed your yard! Anyone laid sod before and want to share their tips? Share with us in comments!
Copyright © www.100flowers.win Botanic Garden All Rights Reserved