Dried roses are a great way to give your home a Victorian look of decor. If you've never had them in your house before, take a look at how to dry roses all on your own in simple steps.
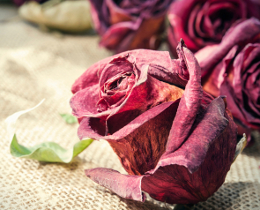
If you are not a person who loves to decorate the house or your room by making things, you can completely rely on a vase of dried roses for elegance. As the concept of having dried roses as an interior decoration idea was initiated by the British, today, it is used universally. They make the room look beautiful and delicate, giving it an authentic Victorian look. The best part is that you don't need to spend money buying them from an expensive store; you can make them at home.
Roses are elegant flowers which symbolize rich, fascinating beauty. They stand for the strength and endurance of womanhood. Having them in the house can make for an attention-grasping sight for guests. Though fresh roses lend a stunning glow to the room, dried ones make it look royal. The following methods will teach you how to dry roses and keep their color.
At Home
An interesting part about this whole procedure is, you can dry them with hairspray. This is the easiest homemade technique to create unique-looking roses for your living room.
Step 1: Buy some roses of any color, preferably black, red, or purple. Use as many as you want. A larger amount will make the piece of work look grand and beautiful.
 Step 2
: Wait till their heads become droopy and they are almost on the verge to die.
 Step 3
: Make sure they have not started losing their petals yet.
 Step 4
: Remove all the leaves from the bottom of the stems.
 Step 5
: Collect more roses following the above process of drying roses. Here we have collected 4-5 red dry roses.
 Step 6
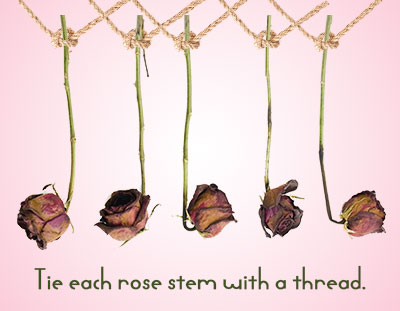
: Find a place to dry petals of roses like the window or a heating vent, and put a push-pin or thread in the wall to hang them on or you can loosely twist a thread around its bottom.
 Step 7
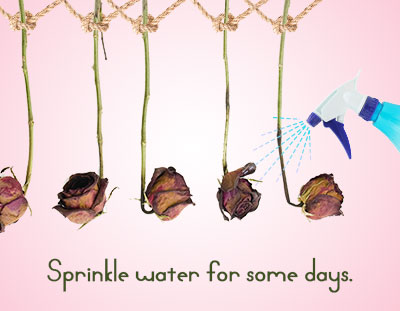
: Spray them with hairspray to make sure the petals do not fall off. Wait till the roses are completely dried for about 2 weeks.
 Step 8
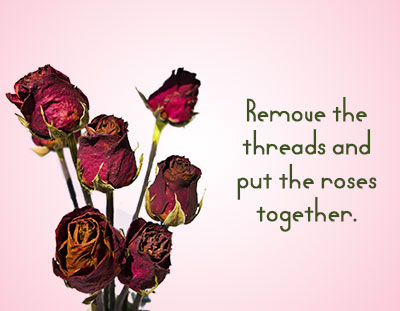
: Collect the roses that we hang near window to dry, and put all the roses together.
 Step 9
: Then put them in the vase to keep them over the fireplace or a table by the window to make a beautiful bouquet.
 In The Microwave
Drying roses in your microwave is comparatively easier, as it lessens the time for drying them.
Step 1: First of all, line the bottom of the microwave-safe container with about 2 inches of silica gel.
Step 2: Lay the roses gently on the top of this silica gel surface so that they don't touch each other. Remove some leaves from the bottom of the stems.
Step 3: Cover the tops of the roses carefully with some more silica gel, and make sure that they are not flattened due to the gel.
Step 4: Place the uncovered bowl in the microwave, and set the temperature 2 levels above defrost. Set the time for two minutes. Once the time is up, check if the roses are dry, and if not, repeat and check a few more times. If they do not dry after two intervals, increase the temperature.
Step 5: After the roses are dry, cover the container with its lid, with a slight gap to release some air from inside it. Allow the container to set for 24 hours till it cools completely. Then, remove the roses from the silica gel to clean them well.
Once the roses are dried, you can even paint them with colors that match your interiors. These could be used not only to make the house look presentable and elegant, but also for potpourri crafts and designs.


 If you are not a person who loves to decorate the house or your room by making things, you can completely rely on a vase of dried roses for elegance. As the concept of having dried roses as an interior decoration idea was initiated by the British, today, it is used universally. They make the room look beautiful and delicate, giving it an authentic Victorian look. The best part is that you don't need to spend money buying them from an expensive store; you can make them at home.


