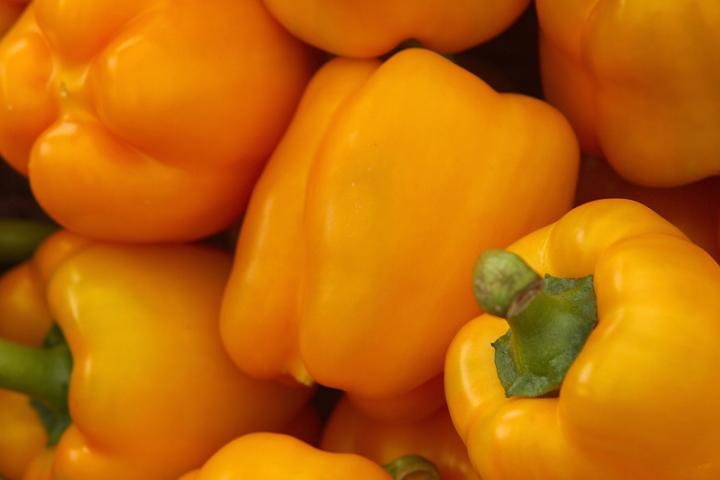
Peppers are a tender, warm-season crop. They resist most pests and offer something for everyone: spicy, sweet or hot, and a variety of colors, shapes and sizes. For this page, we will focus on sweet bell peppers.
Planting
- Start seeds indoors 8-10 weeks before last spring frost date.
- The temperature must be at least 70 degrees F for seed germination, so keep them in a warm area for the best and fastest results.
- Start pepper seeds three to a pot, and thin out the weakest seedling. Let the remaining two pepper plants spend their entire lives together as one plant. The leaves of two plants help protect peppers against sunscald, and the yield is often twice as good as two segregated plants.
- Begin to harden off plants about 10 days before transplanting.
- A week before transplanting, introduce fertilizer or aged compost in your garden soil.
- After the danger of frost has passed, transplant seedlings outdoors, 18 to 24 inches apart (but keep paired plants close to touching.)
- Soil should be at least 65 degrees F, peppers will not survive transplanting at temps any colder. Northern gardeners can warm up the soil by covering it with black plastic.
- Put two or three match sticks in the hole with each plant, along with about a teaspoon of fertilizer. They give the plants a bit of sulfur, which they like.
Care
- Soil should be well-drained, but maintain adequate moisture either with mulch or plastic covering.
- Water one to two inches per week, but remember peppers are extremely heat sensitive. If you live in a warm or desert climate, watering everyday may be necessary.
- Fertilize after the first fruit set.
- Weed carefully around plants.
- If necessary, support plants with cages or stakes to prevent bending. Try commercially available cone-shaped wire tomato cages. They may not be ideal for tomatoes, but they are just the thing for peppers.
- For larger fruit, spray the plants with a solution of one tablespoon of Epsom salts in a gallon of water, once when it begins to bloom, and once ten days later.
Pests/Diseases
- Aphids
- Flea Beetles
- Cucumber Mosaic Virus
- Blossom-End Rot appears as a soft, sunken area which turns darker in color.
- Pollination can be reduced in temperatures below 60F and above 90F.
- Too much nitrogen will reduce fruit from setting.
Harvest/Storage
- Harvest as soon as peppers reach desired size.
- The longer bell peppers stay on the plant, the more sweet they become and the greater their Vitamin C content.
- Use a sharp knife or scissors to cut peppers clean off the plant for the least damage.
- Peppers can be refrigerated in plastic bags for up to 10 days after harvesting.
- Bell peppers can be dried, and we would recommend a conventional oven for the task. Wash, core, and seed the peppers. Cut into one-half-inch strips. Steam for about ten minutes, then spread on a baking sheet. Dry in the oven at 140 degrees F (or the lowest possible temperature) until brittle, stirring occasionally and switching tray positions. When the peppers are cool, put them in bags or storage containers.
Recommended Varieties
Look for varieties that ripen to their full color quickly; fully mature peppers are the most nutritious—and tastier, too!
- Green to Red: ‘Lady Bell’, ‘Gypsy,’ ‘Bell Boy,’ ‘Lipstick’
- Yellow: ‘Golden California Wonder’
Wit & Wisdom
The popular green and red bell peppers that we see in supermarkets are actually the same thing; the red peppers have just been allowed to mature on the plant longer, changing color and also gaining a higher content of Vitamin C.
Recipes
- Roasted Red and Yellow Bell Peppers
- Stuffed Bell Pepper
- Sweet and Sour Peppers
Cooking Notes
To learn how to make pickled bell peppers, watch this video!
Get more tips on cooking with peppers.


