


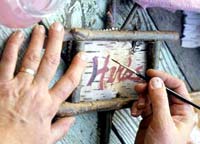
 Label your herb garden with a
rustic sign.
Natural materials belong in a garden. Whether you eventually plan to build an arbor, a fence, or a rustic table or bench from twigs and fallen trees, start with something simple, such as these garden signs. Artistic ability is not required: A few imperfections go hand in hand with the sign's rough-hewn look.
continue reading below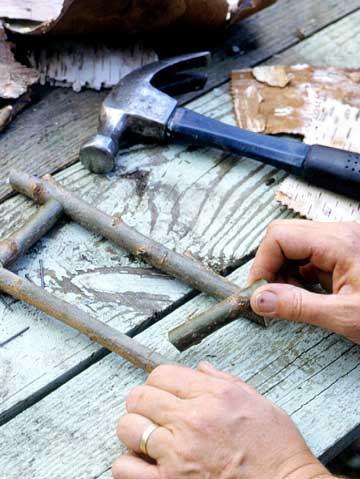 Step 1
1. Frame. Gather willow or other twigs or round up prunings from your yard or a neighbor's. For best results, use straight twigs about 5/8 inch in diameter. Cut four pieces to make the frame: for example, two 3-inch-long pieces for the ends and two 6-inch-long pieces for the top and bottom of the frame. Cut a 12-inch-long piece for a stake. Using 1/2-inch copper nails, fasten the twigs together by driving each nail through a long piece and into the end of a short piece.
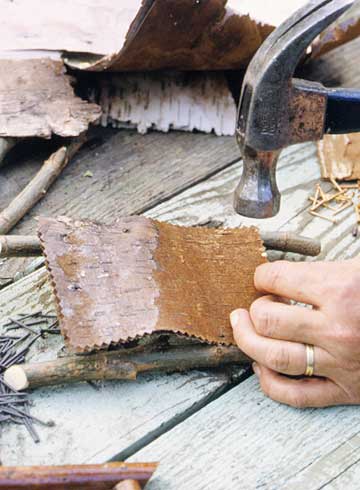 Step 2
2. Canvas. Cut the piece to be painted from birch bark (from a fallen tree only), a cedar shake, a thin board, or metal flashing. Cut it to fit the outer dimensions of the frame. Nail the canvas to the back of the frame using copper nails.
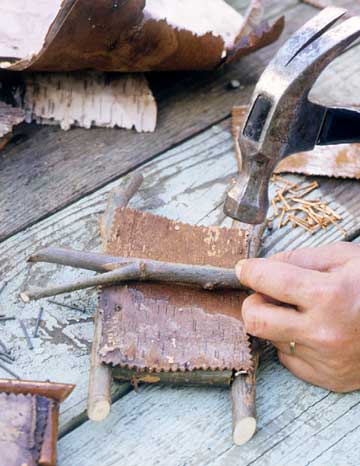 Step 3
3. Stake. Nail the 12-inch-long twig to the back of the frame to make a stake, allowing the top of the stake to extend an inch or two above the sign.
 Step 4
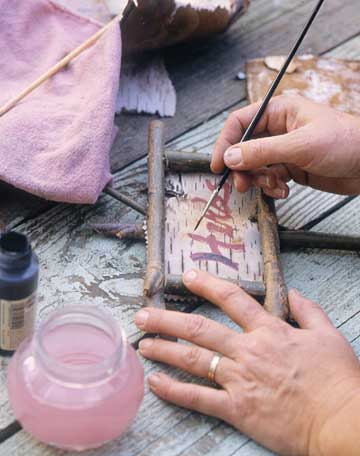
4. Paint. Using acrylic paint and a fine artist's brush, paint the name of a plant or a general term, such as "Herbs," on the sign. If you're uncomfortable painting freehand, lightly pencil in the word or words before applying the paint. Let the paint dry completely (at least 1 hour). With a 1-inch paintbrush, coat the sign, including the ends of the stake, with polyurethane sealant. Let the sealant dry for at least 24 hours and then apply a second coat.
Copyright © www.100flowers.win Botanic Garden All Rights Reserved