


If you can use a hammer to piece a few boards together, you can build your own aquatic haven in one weekend. Here's how.
continue reading below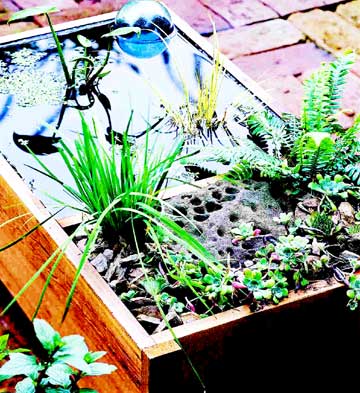 Take a weekend to build a small deck pond.
 Step 1
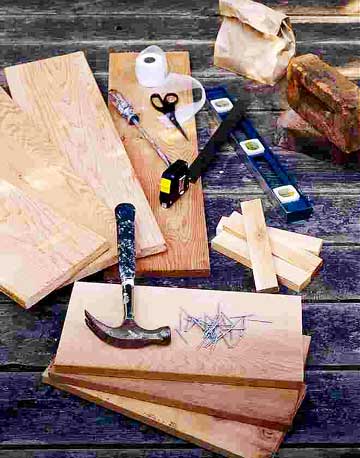
1. Gather the materials. Cedar works well for this project because it's rot-resistant and gracefully turns gray if untreated.
2. Cut 30-inch lengths for the side panels and 15-inch lengths for the ends, then glue up a 15 x 28 1/4-inch panel for the floorboard. Use waterproof polyurethane glue for this and other wood-to-wood joints on this project. Use a table saw or a portable circular saw with a guide to get straight, square cuts on all parts. (Note: You can substitute pressure-treated 3/4-inch plywood for the floorboard if desired.)
 Steps 3-6
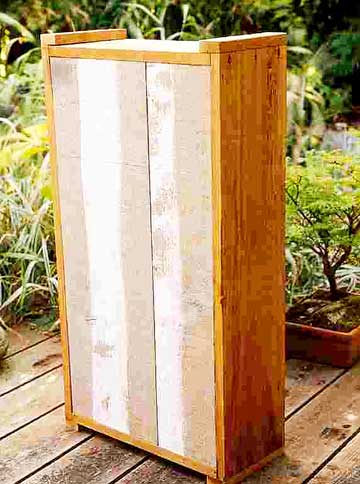
3. Apply glue to one long edge of the floorboard, then use siding nails, finishing nails, or deck screws to fasten one side panel to the floorboard first, leaving a 7/8-inch overhang for each end panel.
4. Glue and fasten the two ends and the remaining side panel.
5. Cut another 15-inch-long board to create a divider for a separate planting bed within the box. The divider sits on top of the floorboard, so cut it at least 7/8 of an inch narrower than the side panels (so it will be flush at the top edges).
6. Use a ruler to mark guidelines for location, then glue the divider in place. Drive nails into each side and up through the floorboard to secure the divider.
 Step 7
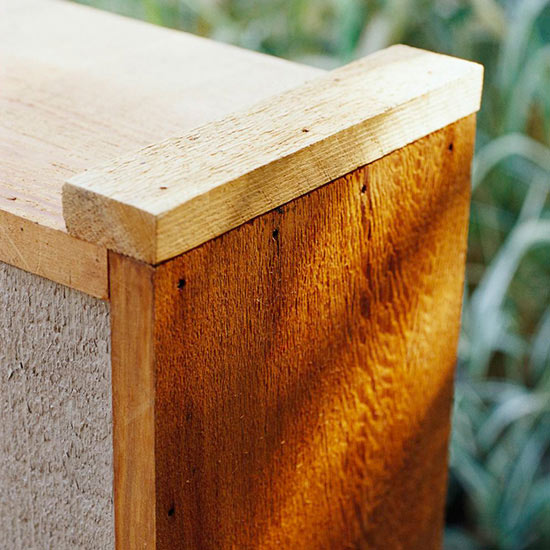
7. Secure the ends. Cut four corner cleats from 1- x 2-inch cedar and coat the inside faces liberally with polyurethane glue. Position and nail them onto the box corners; they will add strength to the box assembly and provide additional sealing.
 Step 8
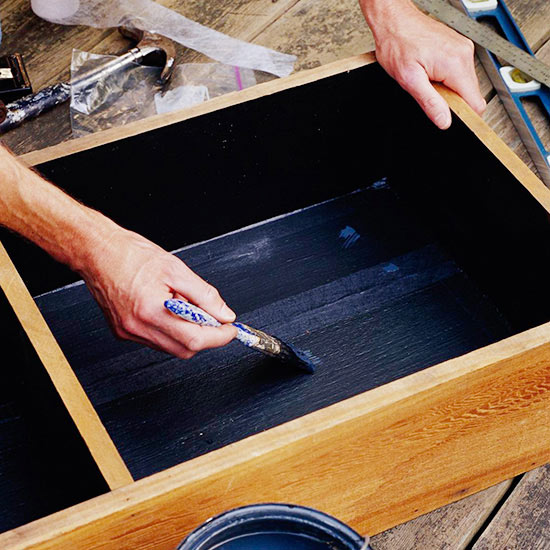
8. On the inside of the box, install a plastic liner or use a rubberized paint-on sealant that is safe for aquatic life if you plan on adding fish. Check the directions on the sealant can for suggested number of coats, then do one more. Coat both the water area and the garden section.
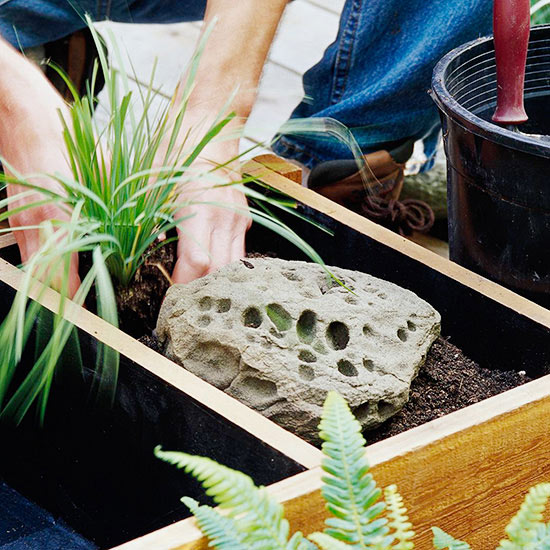
9. On the garden side, drill two or three holes in the base to provide drainage for plants. Set the box on two or three bricks to elevate it.
 Step 10
10. Choose plants. Create a composition with plants and rocks by selecting ones that vary in form, texture, color, and size -- all in miniature, of course. Select a combination of submerged, marginal, and edge plants. Fill the garden section with soil and choose plants with similar light and watering needs.
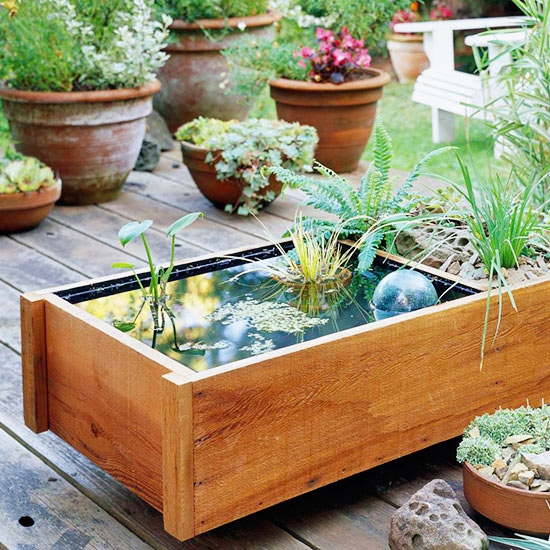 Water lilies are a popular choice for ponds.
An arrangement of submerged, marginal, and edge plants completes any water garden, regardless of its size. Water lilies -- the classic choice of plant for a pond -- add beauty and fragrance, but most need 3-8 feet to spread out. However, miniature water lilies are now available that require only 1-1/2 feet.
Here's a list of plants that will fit nicely into a small water garden. You can read up on these plants in any good water gardening book.
Submerged plants grow completely beneath the surface of the pond and do not need soil to thrive. They are also called oxygenators because they add oxygen to the water -- a must if you want to have fish in your pond box.
Marginal plants add vertical interest to a pond and require a soil medium to grow, unlike oxygenators. You pot a marginal plant like you would any other plant and then sink the pot under the surface of the water.
Edge plants create a transition from the water to the garden. They are usually planted in soil along the banks of a pond.
This pond isn't meant to be a permanent structure. To preserve its life come fall, empty the box, dry, and store in a shed. If you live in a more temperate zone, you can overwinter the structure in a garage or leave out year-round. Transfer fish to an indoor aquarium if temperatures drop below freezing.
1. Layer the bottom of the pot with pea gravel or a plastic mulch to keep the soil from seeping out.
2. Use ordinary topsoil for water plants -- potting soil will not work because it is too light and will float. Mix a spoonful of a slow-release fertilizer into poor soil. Fill the pot to 1 inch below the rim.
3. Hollow out a hole large enough to hold the root ball. Place the root ball in the hole and fan out the roots. Gently add soil.
4. Cover the crown with about an inch of soil to anchor the plant. Tamp the soil firmly. Top with pea gravel to hold the soil in place.
Copyright © www.100flowers.win Botanic Garden All Rights Reserved