One of the first things landscape designers do when they start working on a garden plan is to make a site survey. This assesses a range of factors, including soil type, wind exposure, existing plants, location of sewer pipes and changes of level. That information is put into a scale drawing of the site that is used to develop the final concept plan for the garden.
Whether you’re planning to hire a landscape designer or intending to design your own garden, it makes good sense to analyze the site yourself. For DIY gardeners, it will provide a thorough understanding of what’s going in the garden so you’ll be able to work with what you’ve got rather than try to create a garden that would be impossible for your conditions. There’s no point in wasting money on plants that won’t thrive in your garden’s type of soil or building a terrace and finding it’s lashed by cold winds most of the time.
If you use a landscape designer, having a thorough knowledge of your site means you’ll be better able to judge whether the design is right for your garden. And by reducing some of the preliminary work the designer would do, you can save yourself time and money. Not sure where to begin? Follow our 10-point checklist of the essential elements for a garden site survey.
Carol Bucknell Garden Design
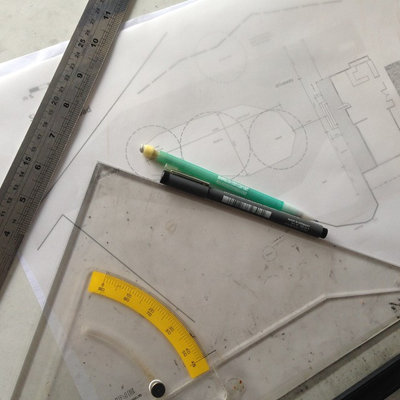
1. Find an existing site plan. Start by researching as much existing information as you can on your site. If you’ve had renovations done or built a new house, you should have an existing site plan to scale showing the correct property boundaries and the location of the house, driveways and major trees. If not, check with your local planning department. It may have a site plan on file and be able to provide a copy for a fee.
Get your site plan enlarged to a reasonable scale to work with — 1:100 is the normal scale for site plans, but for small spaces 1:50 is better. Make another copy or trace over the site plan so you can gradually add more information to your survey.
Woodburn & Company Landscape Architecture, LLC
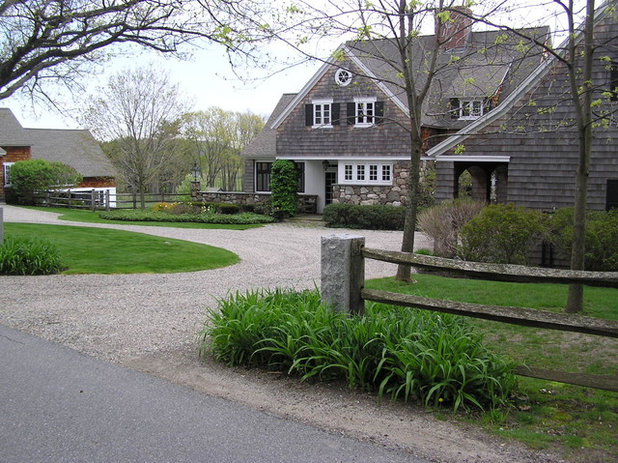
2. Or draw your own site plan. If you can’t locate an existing site plan with a workable scale, you can draw your own. Graph paper can be helpful in establishing a scale for the site. (For instance, every square could equal one foot.) When measuring your site, never presume boundaries are straight; always double check by measuring from two different positions. Do the same with the location of trees and other major structures.
Tip: Having someone help you is a good idea, and online tools are available to make site measuring easier.
Sandberg Schoffel Architects
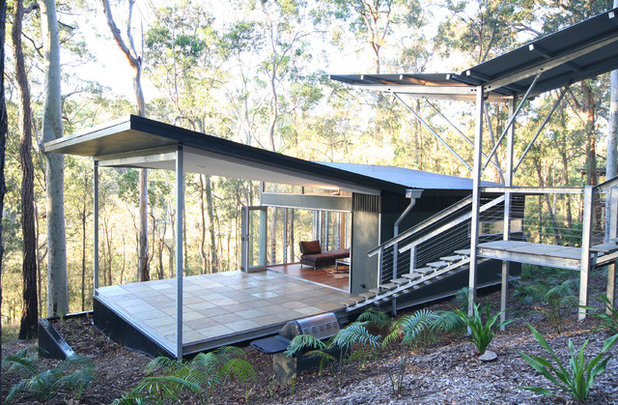
3. Assess indoor-outdoor links. If they’re not already marked on the site plan, you should note the different living spaces on your base plan and any other rooms with views of the garden. This allows you to plan what garden features will be seen from the various rooms and create good connections between the inside of the house and outdoor living spaces.
Carol Bucknell Garden Design
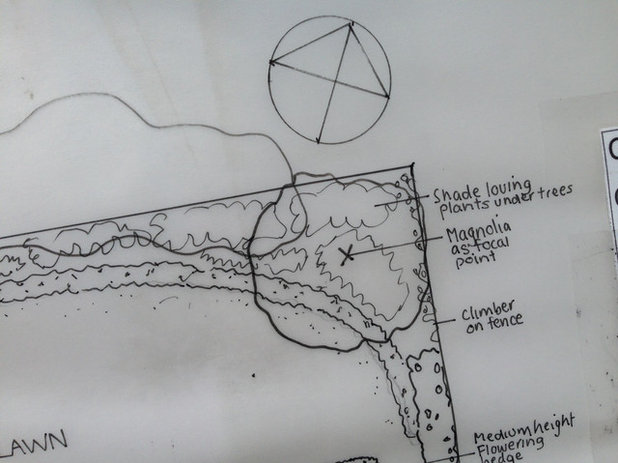
4. Find north. Knowing where north is helps you determine where the sun will be in the garden at different times of day and which areas will be in shade. There should be a north point on any site plans drawn up by an architect or a design professional. Otherwise, get out the compass. If you have time, track the sun’s movement through the garden. Check in the morning, at midday and again in the evening. If you do this each season, you’ll be able to work out which areas are the sunniest (and shadiest) throughout the year. Mark these on your site survey.
Joanne Winn Garden Design
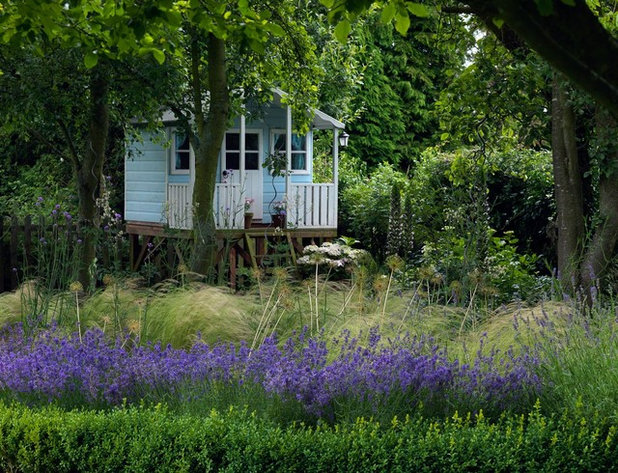
5. Mark key features. Your site survey should include existing structures and features such as sheds, decks, driveways, paving, arbors and pools. Even if you are planning to move or demolish these, it’s important to note where they are, since budgets and minds can change. Also, designate on the plan all the trees and plants you wish to keep.
Don’t forget what’s happening underground. The locations of gas and power lines, telecommunication cables and sewer lines can have a huge impact on what you can do on top, such as planting trees, excavating soil or building structures. Your planning department may have a sewer plan on file, and your service providers can tell you the locations of cables and gas lines.
Avalon Northwest Landscape, LLC
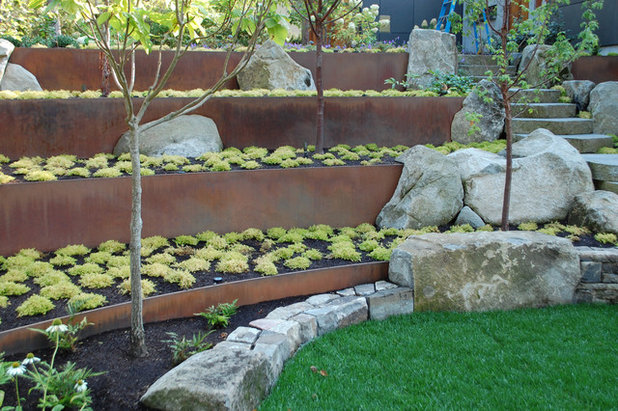
6. Assess levels. Sloping areas should be noted on the site survey. It’s important to take these into account when planning outdoor living spaces, as seats and tables need a level platform. If your site does have a slope, you’ll have to build retaining walls to create flat areas. Unless you’re really handy, it pays to get professional advice on this. When moving soil around, think about where you could relocate it on the site rather than paying to have it removed.
Retaining walls also might be a good option if your site slopes down away from the house; otherwise, the garden will be shady. For areas such as garden beds, rather than creating large, flat areas with expensive earthworks, try to follow the natural contours of your site as much as possible and use low terracing, which is not difficult to build yourself.
Tip: Clever planting also can go a long way to disguise sloping terrain.
Cameron Landscapes and Gardens
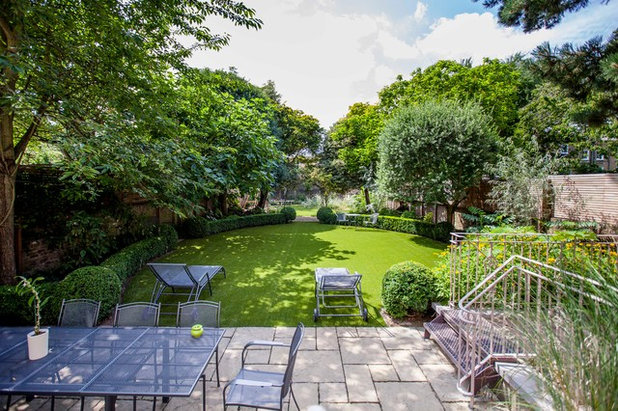
7. Work out the best and worst views. Note on the survey where the good views are from within the garden and from the house. These could be inside your garden, a lovely tree next door or a distant landmark such as a church steeple or a glimpse of the ocean. Views are another essential factor in deciding where to position sitting areas. Also, mark areas where the garden can be viewed and might have to be screened.
Bliss Garden Design
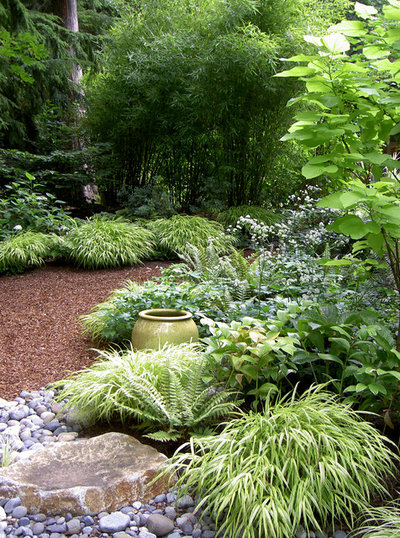
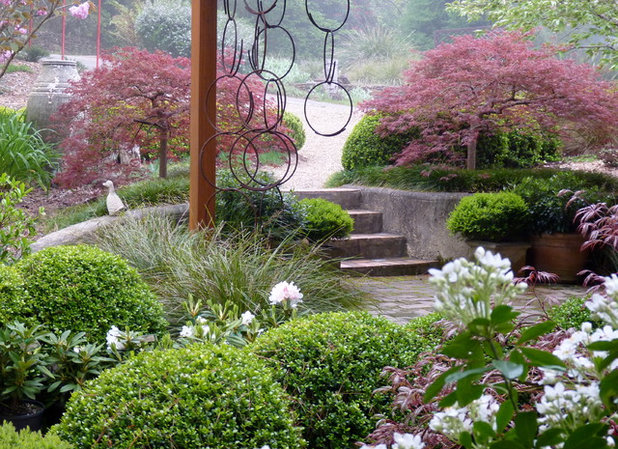
8. Analyze environmental conditions. Spend as much time as you can working out which areas in your garden receive the most sun and wind, and which spots are sheltered or in deep shade. You need to know which parts of the garden receive the most rainfall and where the really dry areas are, since only certain plants will do well in those conditions. And you may want to create sitting areas in shady and sunny places in the garden.
Arthur Lathouris Garden Designer
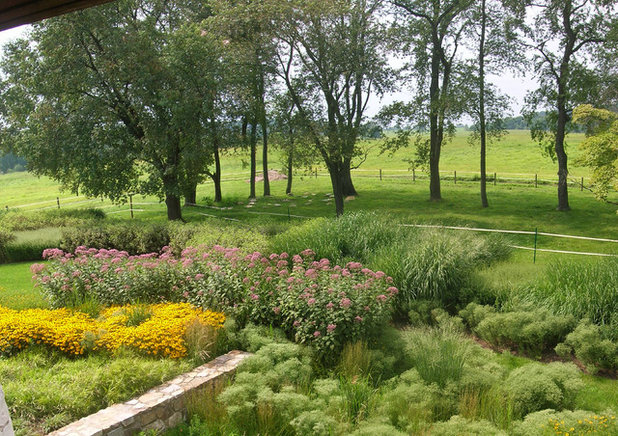
9. Check the soil. Knowing the location of good soil will help determine your garden’s layout. Main planting areas should be where the good soil is, of course, but the type of soil under paved areas doesn’t matter. Check all around your property, because soil conditions can vary considerably within a small area.
You may want to get your soil tested to determine its pH (acidity levels), particularly if you choose acid-loving plants such as azaleas or rhododendrons. Soil pH testing kits are available from garden centers.
jonathan alderson landscape architects, inc.
10. What’s the drainage like? Always note any areas with damp soil. There’s no point in planting expensive trees, only to find them later languishing in boggy ground. You can check the drainage capacity of soil by digging holes at least 20 inches deep in the area where you’ll be planting and filling them with water. If it drains away quickly, your soil is free-draining. If it remains longer than a couple of hours, you’ll need to install a drainage system or use plants that love damp conditions.
Tell us: Have you done a site analysis? Was it helpful? Tell us in the Comments.
See more articles about landscape design


