Gardening is not for the faint of heart. Beyond the physical labor and hours of attention a mature garden takes, there are so many decisions that need to be made. Bring home 10 new plants from the nursery and you have 10 decisions to make. Where should they go? Will they clash with that bush in the side garden? Will the shape of the mature plant complement the irises around it? Will the plant die from a lack of sun?
One simple article cannot negate the work involved in designing a garden from the ground up, but today I'm going to give you a few steps to get started. Don't be overwhelmed; go step by step, learn the "sedum secret," and before you know it, you'll be starting your own garden from the ground up.
Amy Renea
1. Start with a foundation plant. These are not your typical foundation plants as in "three green bushes planted next to the foundation." These are plants that will
be the foundation of your new garden.
There are a few characteristics your foundation plants should have:
• Fairly fast-growing
• Disease and pest resistant
• Easy to care for
• Propagate easily
• Blend easily
Basically, you want a plant that you can put anywhere in your garden with ease. It needs to be repeated over and over again for consistency but not seem overdone. You need to be able to propagate the plant on your own rather than buy hundreds of them, and the plant should look good throughout the season.
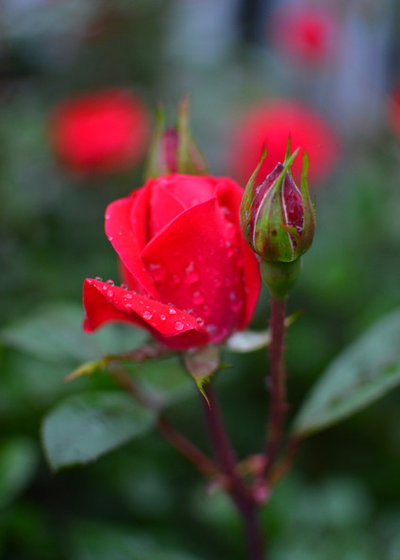
The rose featured here is from the 'Knock Out' family of roses, aptly named because these rosebushes bloom and bloom and bloom with few pests and problems. Another plus: Cuttings root easily, so you can continue to build a garden foundation.
Amy Renea
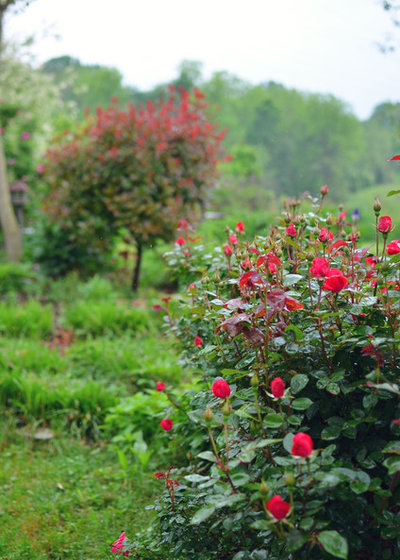
2. Accessorize your garden. Once you have selected a primary foundation plant that you can use throughout your garden, you need to think about large accessories. In garden speak, your "accessories" should be large bushes or small trees. These secondary plants should mimic or complement both the shape and form of your foundation plant, but show a little diversity.
In this garden, you will see the 'Knock Out' roses in the foreground, and then in the background is a red tip photinia. The photinia mimics the color scheme of the rose by starting out with a deep red foliage that fades to green as it ages. The rounded form of the photinia is also very similiar to the growth pattern of these 'Knock Out' rosebushes.
Amy Renea
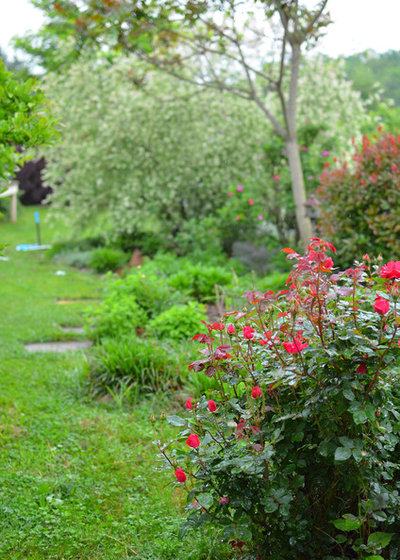
3. Find a "pepper" plant. Not as in jalapeños or red bells, but a plant that you can sprinkle, or "pepper," anywhere. It should be very easy to split and propogate, have beautiful foliage and leave no uncovered legs. In other words, the plant should stay fairly low to to the ground, growing lushly so there are no bare stems showing. My weapon of choice here is lemon balm and mondo grass. Both mound well and provide the perfect little plants to fill in any blank holes.
Notice the line of grass and lemon balm in the background of the photo. They are a lighter green than the roses, contrasting nicely and giving the eye a direction to go in.
Amy Renea
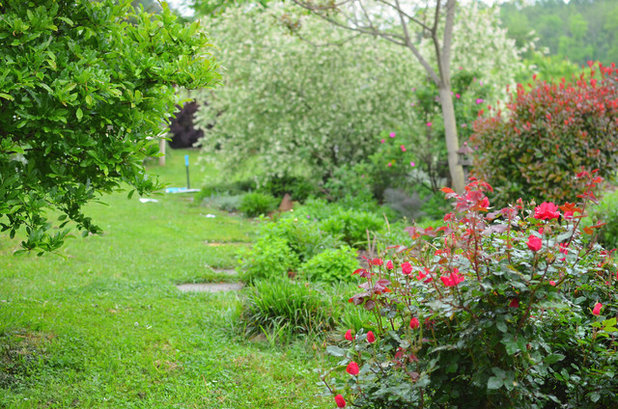
4. Link all the pieces. Once you have your foundation plants, accessories and "pepper" plants, you have one bed completed and you are ready to move onto phase two of garden planning — linking the pieces of the garden together. In this example, a star magnolia tree is added to the mix. Notice that the tree is the same color as the lemon balm, with similar-size leaves and the same rounded habit.
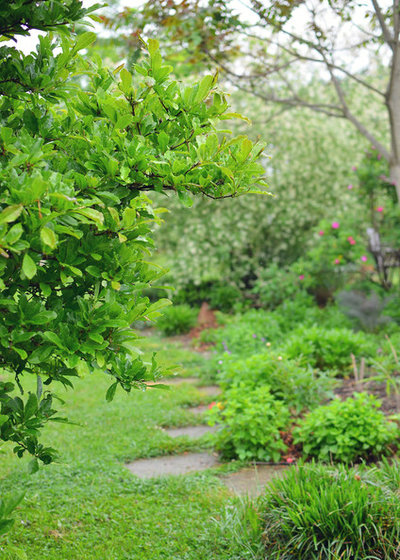
Amy Renea
Here is a closer look at how two plants combine in the garden. The tree is pruned to closely follow the line of the lemon balm path, subtly connecting the two visually.
Amy Renea
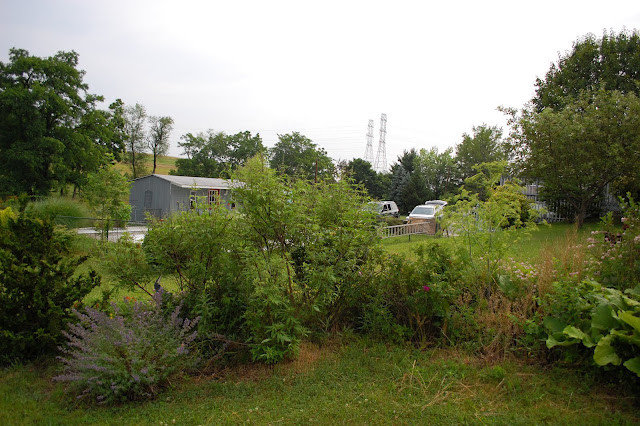
5. Learn the 'sedum secret.' What about building a garden on top of an existing garden? How do you reclaim a garden space without just mowing the whole thing and starting from scratch? The basic concepts of foundation and "pepper" plants work well in this situation too. In this example, I will show you how with the "sedum secret."
This photo is the "before" photo of a garden bed once overrun with weeds and overgrown plants.
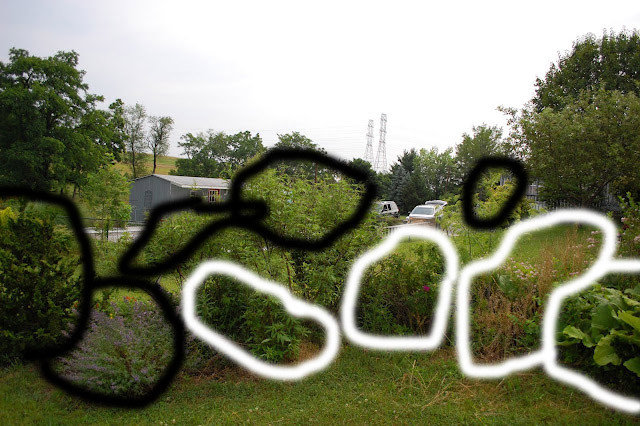
Amy Renea
To give you a better idea, in this shot the white circles are all weeds and the black circles are a few overgrown plants worth keeping.
To save a garden like this:- Pull as many weeds as possible. You aren't going to get everything with one go, but pull as much as you can in an hour or two.
- Cardboard and mulch. Lay thick layers of cardboard on top of all the areas that you want to replant. In this case, it was a pathway through the middle of the large plants, cutting out all those white circled weeds.
- Top the cardboard with a very thick layer of mulch, 6 to 8 inches of wood chips or leaves.
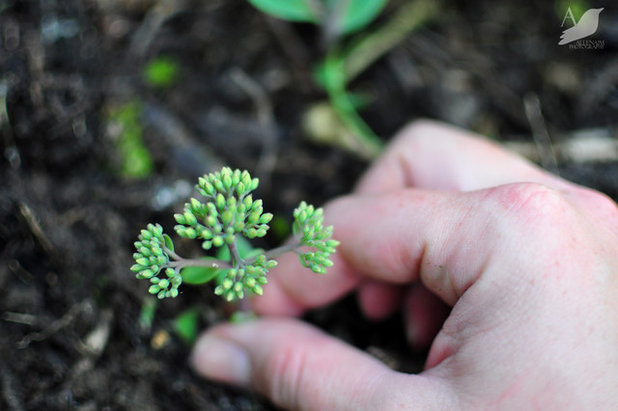
- Plant sedum.
Amy Renea
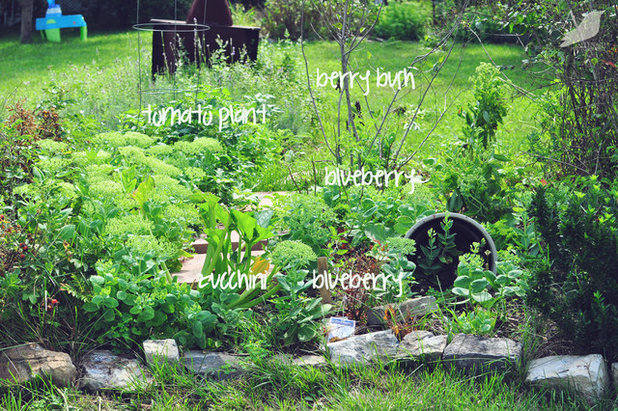
I say "plant" loosely, because sedum is one of the few plants that you can take little stems of and easily create a new plant in a few months. I stuck 15 to 20 little stems of sedum all around the pathway, and by fall they filled in beautifully.
Amy Renea
6. Add cover plants. In addition to the sedum, I was able to add a few accessory plants and cover plants. Cover plants are annuals that help keep weeds away. In my case, I added zucchini and pumpkin vines. These plants grow fast, with large leaves that shade out weed seedlings that might try to grow. In fall, they come out of the ground, and the space is there for your mature plants to grow into next spring.
Amy Renea
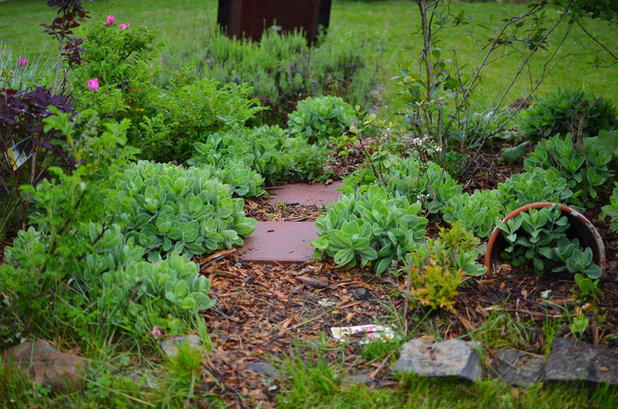
Here is the pathway this spring. Those little balls of sedum will grow tall again by fall, and the path is almost completely weed free thanks to the combination of the weed-blocking cardboard and mulch.

Amy Renea
Of course, all of this starts with a piece of paper and a pencil, instead of a trowel and some dirt. Plan out your choices ahead of time. Take notes at the nursery on which plants have similar-shape leaves and similar or complementary color tones. Keep notes on the sun and rain in your garden plot.
Once you've made all your plans, it's time to get out there and get planting.
See more garden inspiration from Amy Renea on Houzz
More:Great Design Flowers and Plants


