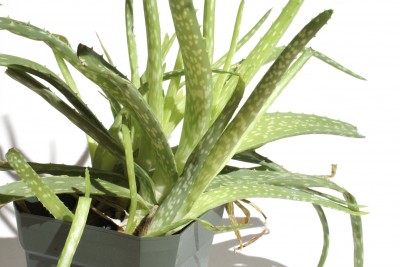


Aloe, from which we get an excellent burn ointment, is a succulent plant. Succulents and cacti are remarkably forgivable and quite easy to propagate. Aloe plants produce offsets, also known as pups, as part of their growth cycle. Dividing aloe plants away from the parent produces a whole new aloe to enjoy. Here is a brief tutorial on how to divide aloe plants.
While you can divide an aloe, you should know that dividing aloe plants is not quite the same as dividing a perennial or ornamental grass. This is usually as simple as cutting the root zone in half and, ta-da, you have a new plant.
Aloe plant division is accomplished by removing the offsets, which are the baby plants at the base of the parent. The process takes just moments and rejuvenates the parent, while providing a new aloe start to propagate.
As with any plant, timing is everything for any invasive action. Late winter and early spring produce a period of fairly inactive growth, which is when to separate aloe plants for the least damage to the root system.
Aloes are pretty hardy, so if you fail to remove the pups in early spring, they will likely take it pretty well even in the growing season. Reduce the light levels for a week before trying aloe plant division on actively growing succulents. This will help slow down the plant’s growth and metabolism and produce a better result.
The process is quite easy and will only take a few moments. The parent plant needs to be removed from its pot, so this is a good time to replant it and fill the container with fresh soil. Use a cactus mix of three parts mixed with one part potting soil.
Remove the parent plant from its container and brush away soil and rock from the base and root system. Locate a healthy pup with a few roots and carefully cut it away from the parent with a clean, sharp knife. Sometimes, you don’t need a knife and the pup will just pull away from the parent. Lay the offset in a warm, dim room to callus on the end for two days before planting.
The callus is simply to prevent the new plant from rotting in the soil. Once the end of the pup is dry, select a container that is just slightly larger than the pup. Fill it with a gritty potting mix and scoop out a small depression in the top to insert the pup’s roots.
Do not water until the roots have taken and begun to grow, usually two weeks from planting. Keep the pot in bright but indirect light where temperatures are warm.
Copyright © www.100flowers.win Botanic Garden All Rights Reserved